Creating Campaigns
Step-by-step guide to creating campaigns with Expert and Beginner modes
Choose between two creation modes based on your experience level and workflow preferences.
Prerequisites
Before creating a campaign, ensure you have:
- Email Account - Connected email account for sending campaigns (required)
- Leads - Imported leads organized into datasets
- AI Agent - At least one active AI agent
- Knowledge Base - (Optional) Product information and sales materials
Only Sales Managers can create campaigns. Directors and Admins can view but not create.
Choose Your Mode
Navigate to Campaigns → Create Campaign (or go to /campaigns/new).
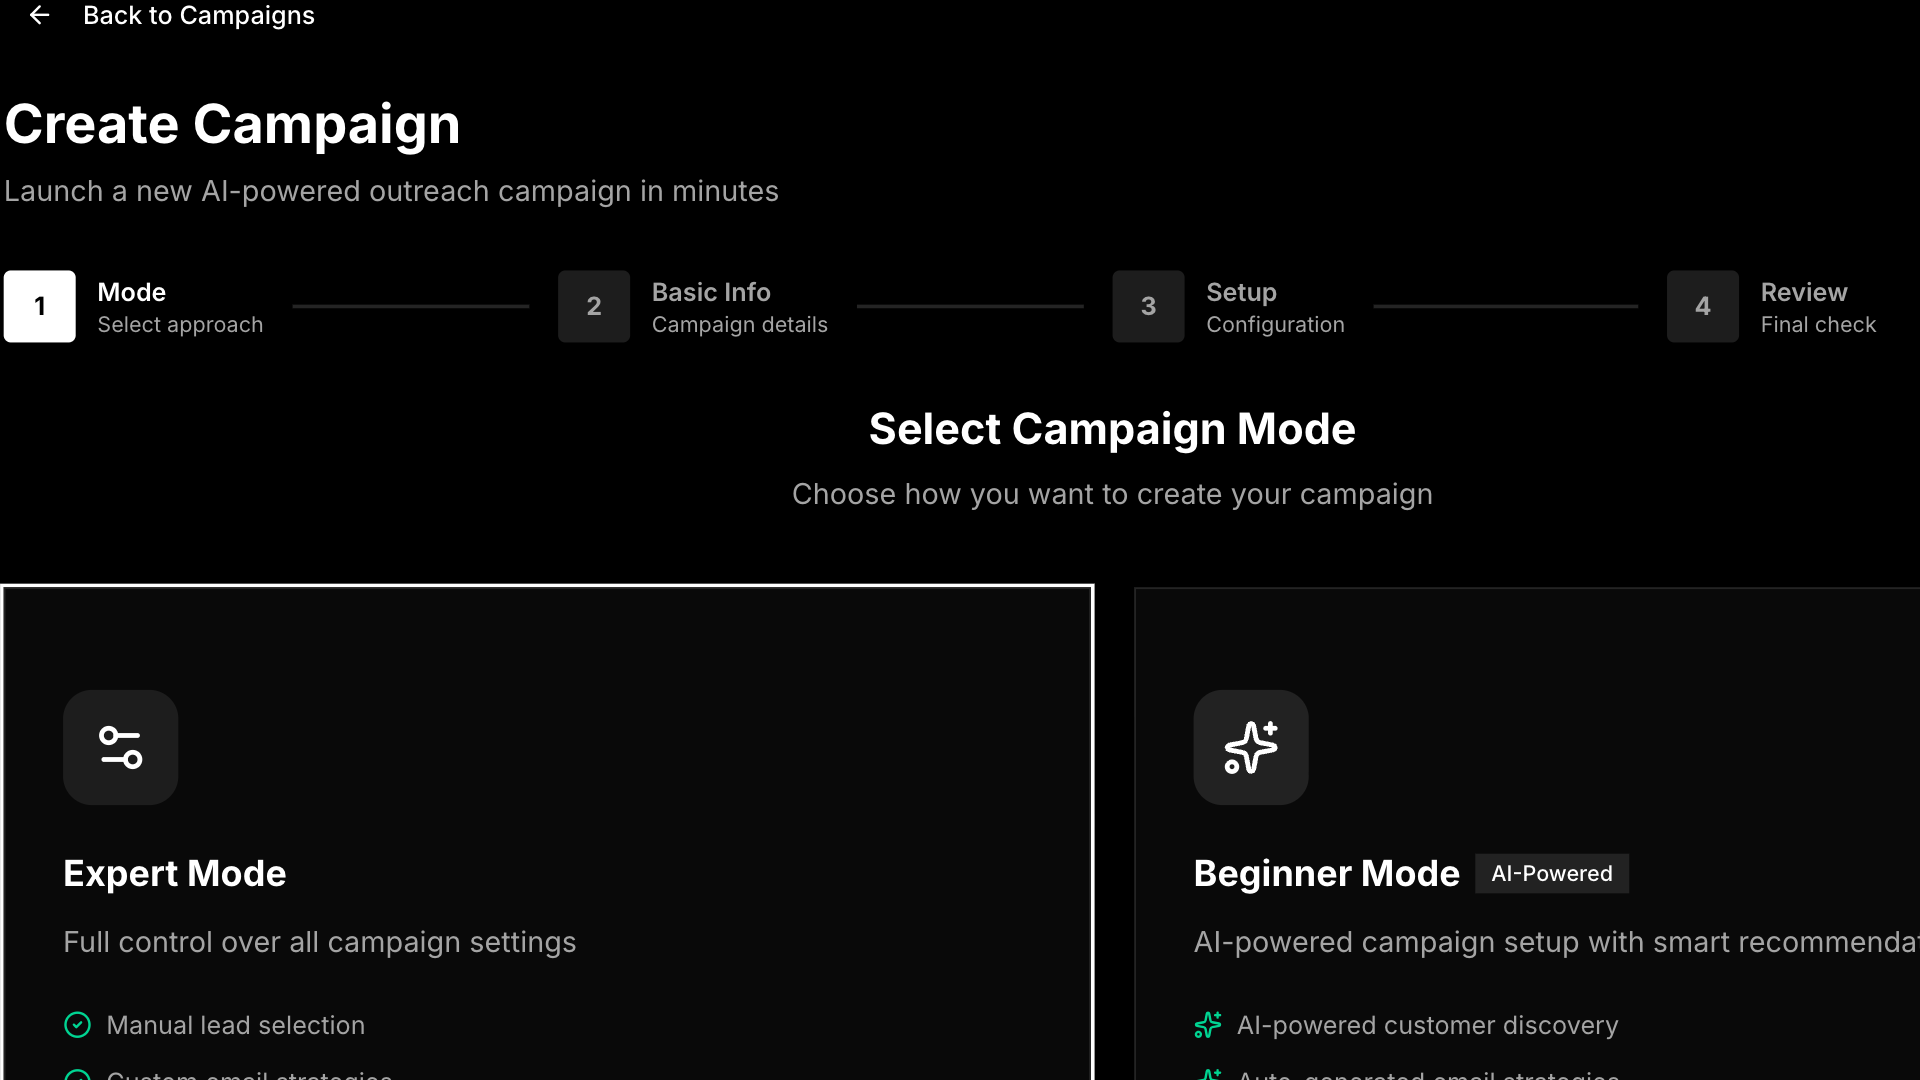
Expert Mode
Best for: Experienced users who want full control over every campaign setting.
Expert Mode provides a step-by-step wizard where you manually configure all aspects of your campaign.
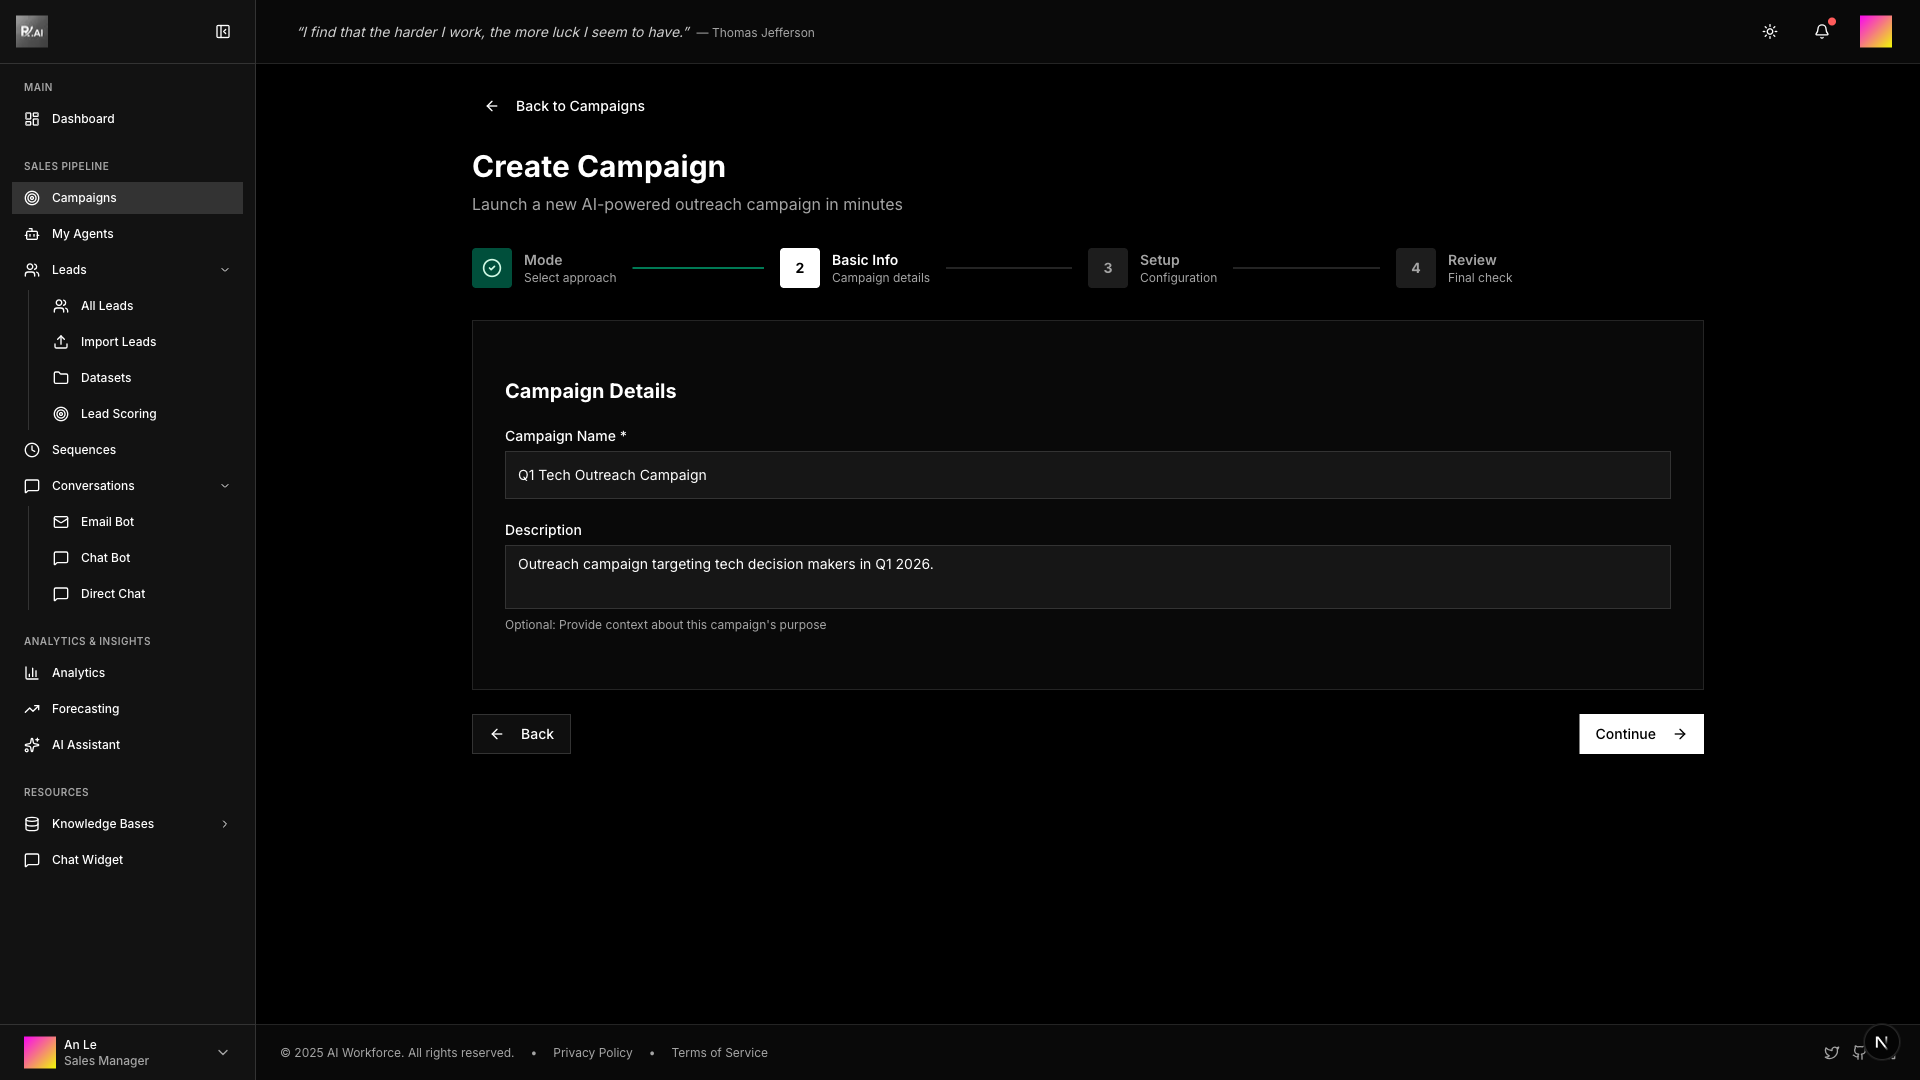
Step 1: Basic Information
Enter campaign name and description to identify your campaign.
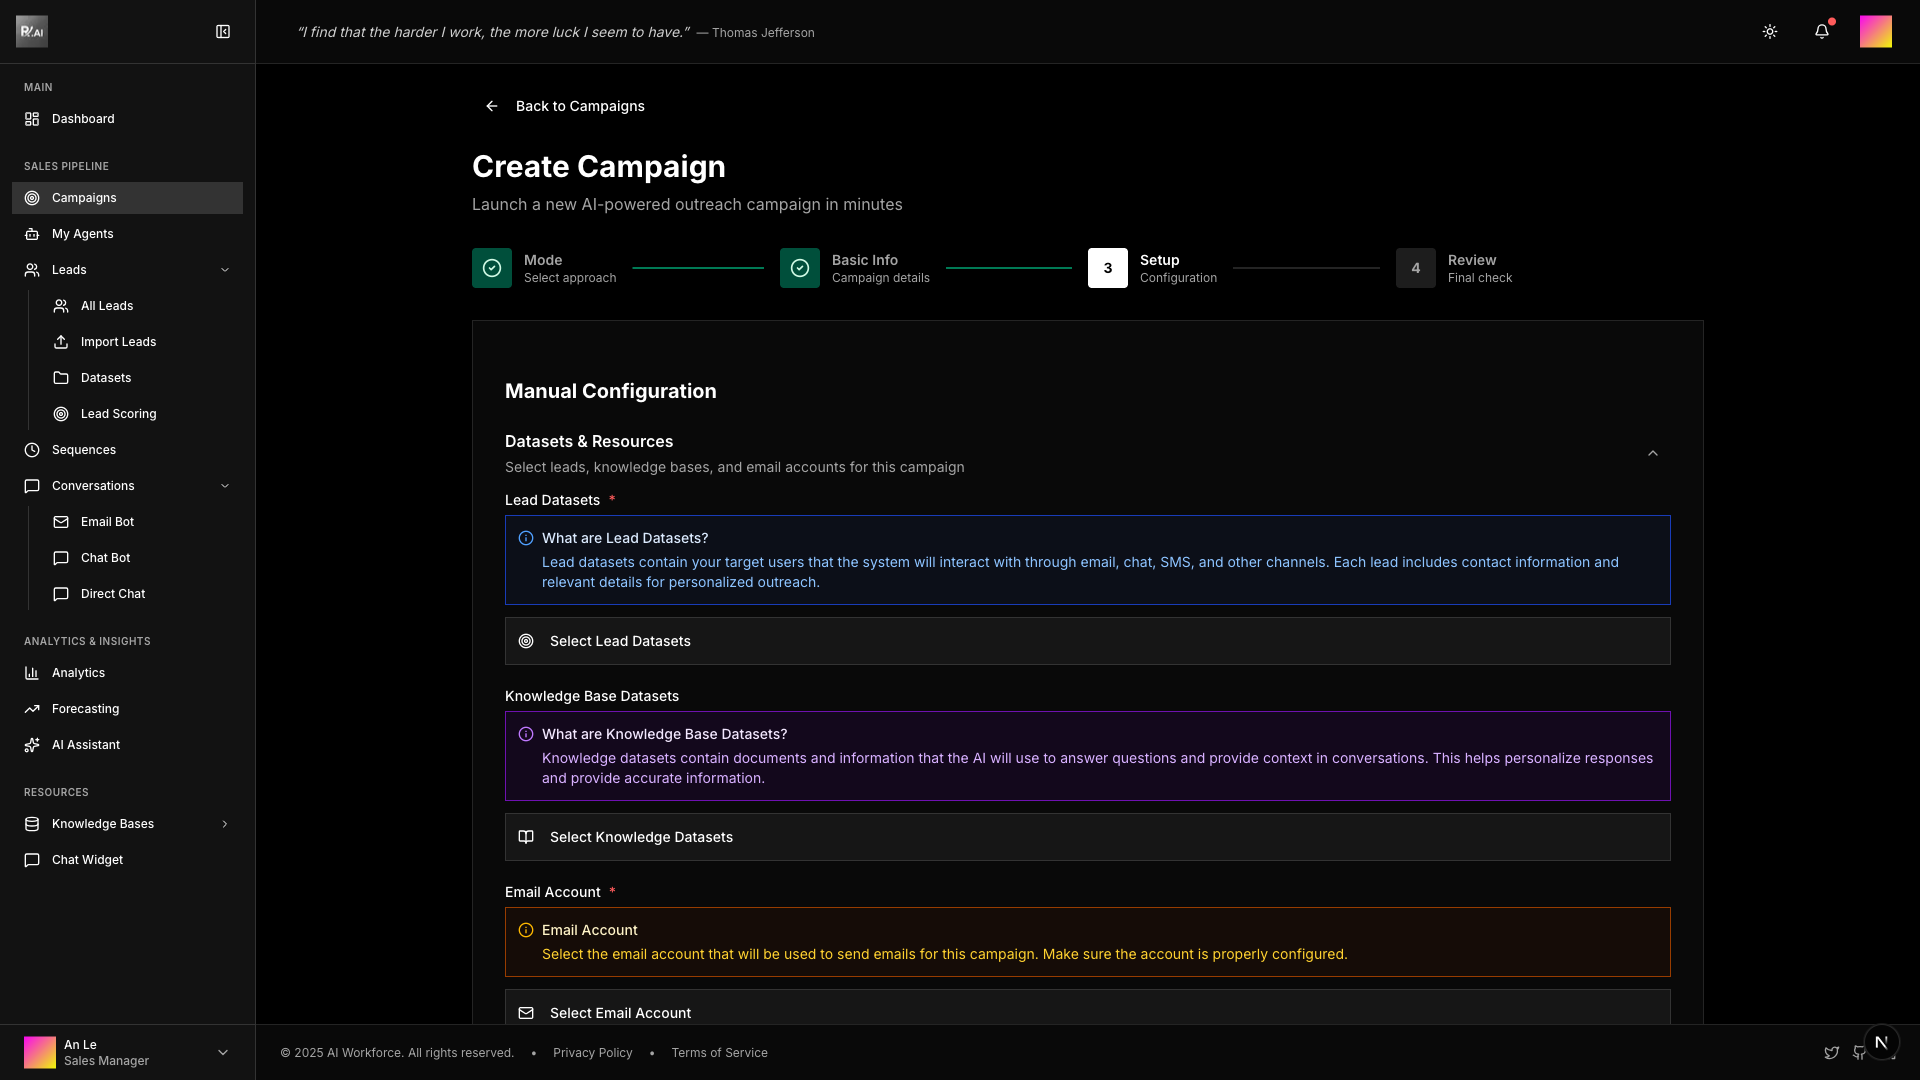
Step 2: Select Resources
Choose the resources your campaign will use:
- Lead Datasets - Select contacts to receive emails
- Knowledge Bases - Business context for AI personalization
- Email Account - Account to send emails from
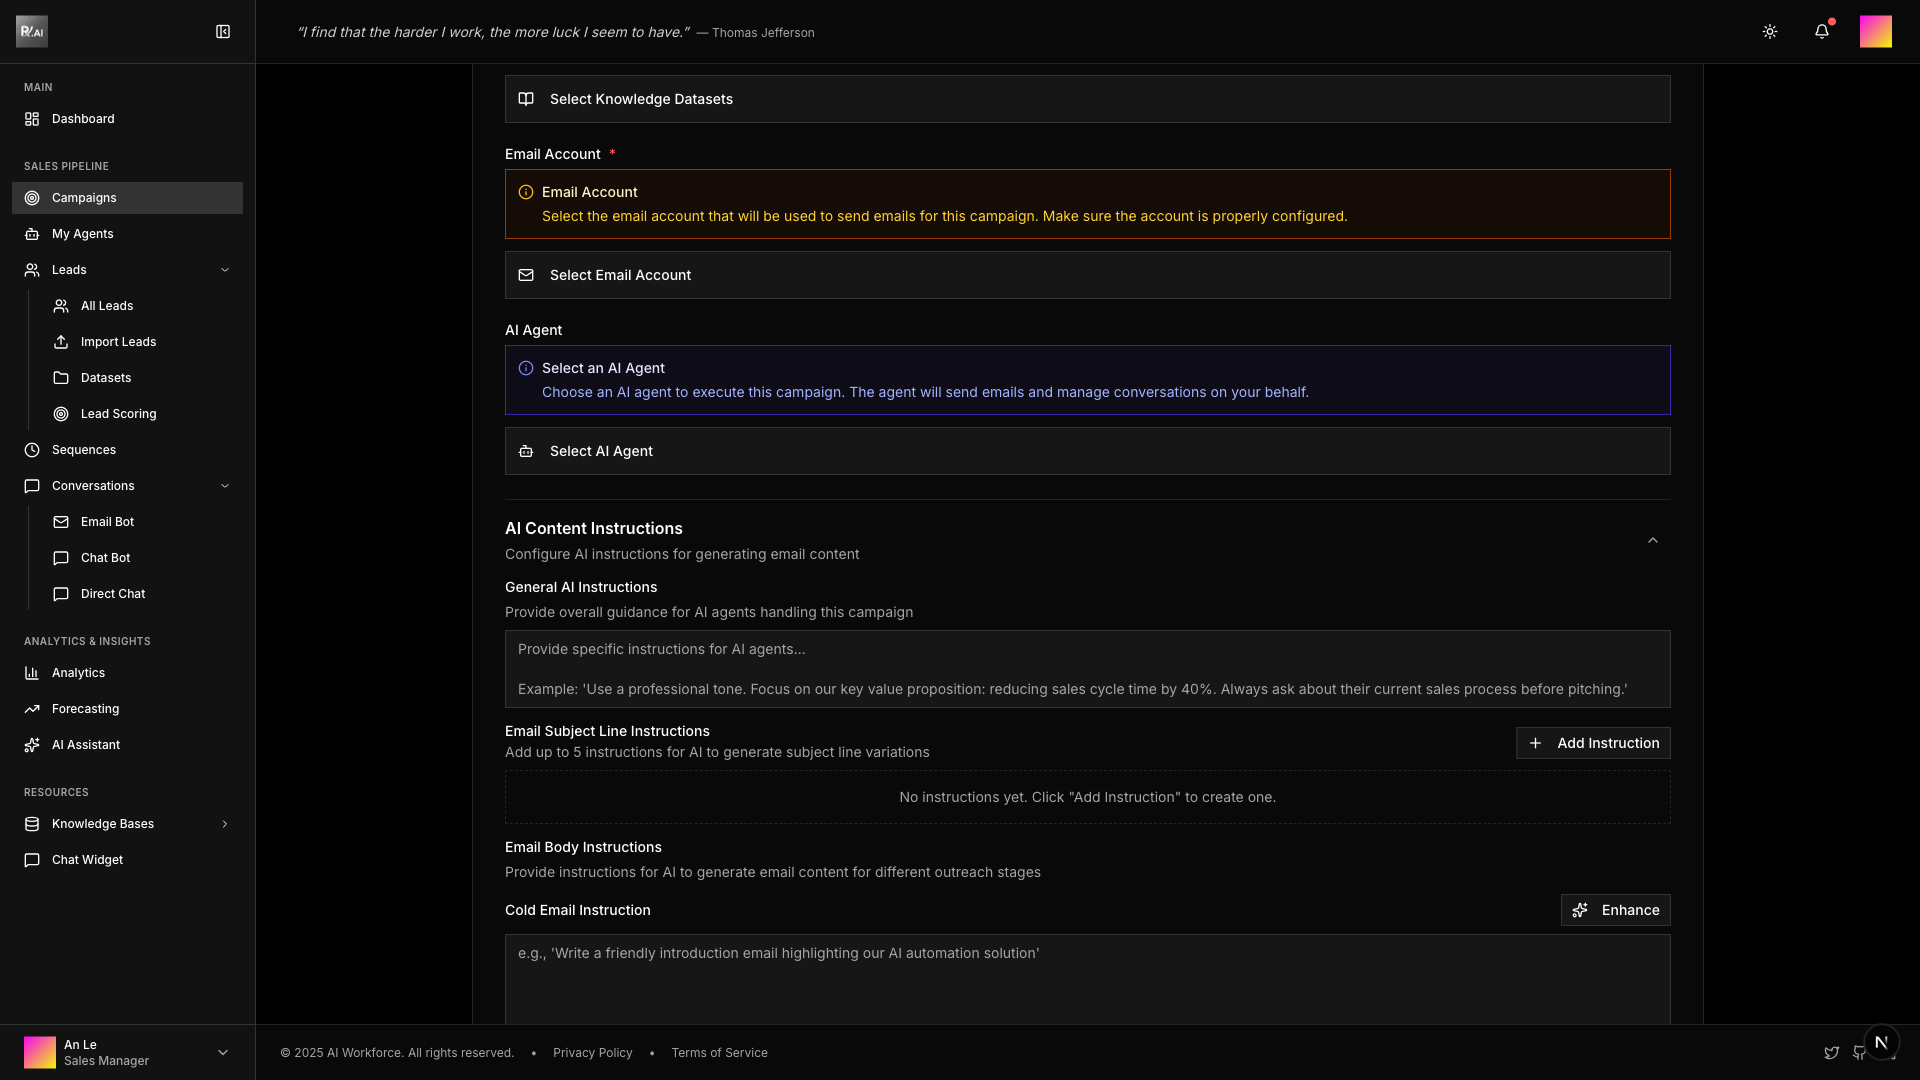
- AI Agent - Agent to handle email generation and responses
Step 3: Email Configuration
Configure your email strategy:
- AI Instructions - Tone, style, key points, objection handling
- Subject Templates - Up to 5 variations for A/B testing
- Email Templates - Cold email, follow-up, and closing templates
- Sending Schedule - Time windows, batch sizes, warm-up settings
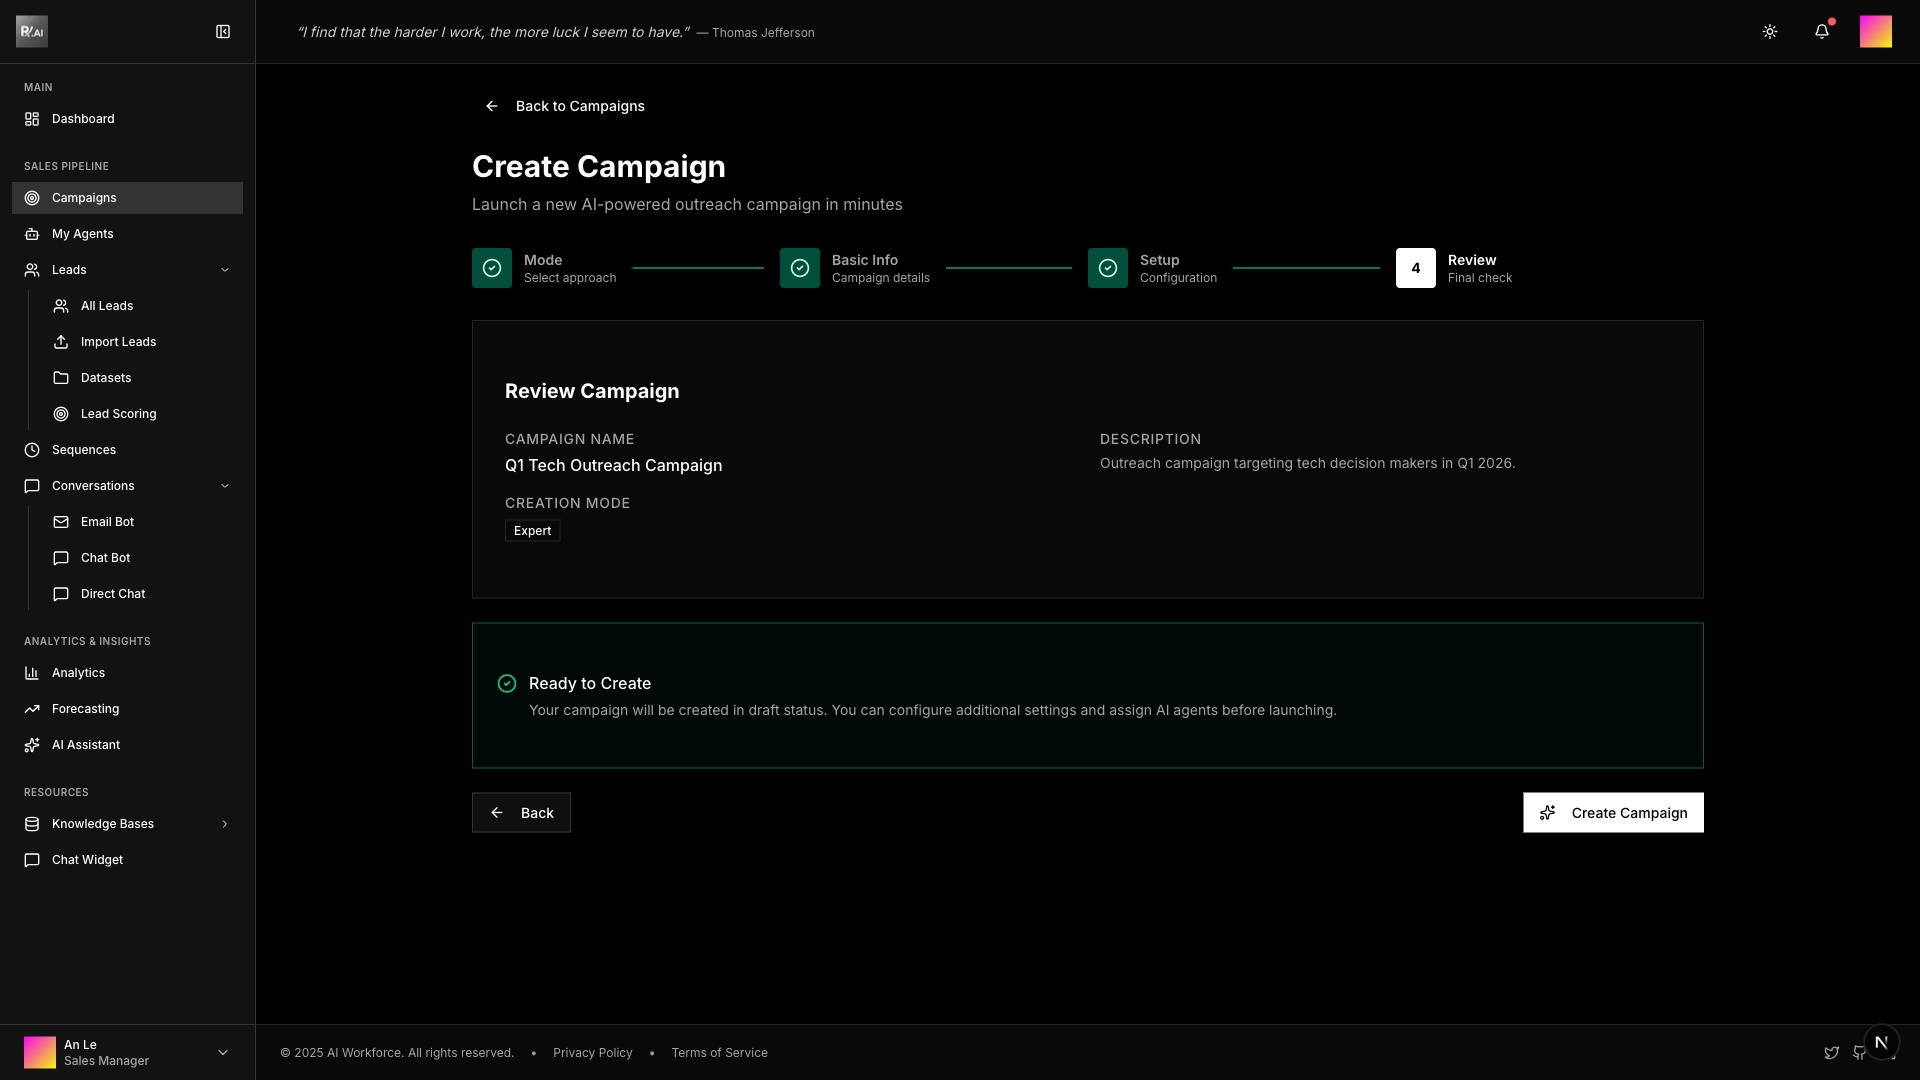
Step 4: Review & Create
Review all settings and create your campaign in Draft status.
For a complete walkthrough, see the Your First Campaign tutorial.
Beginner Mode (AI-Assisted)
Best for: New users or when you want AI to handle the configuration automatically.
Beginner Mode uses a team of AI agents to automatically create a campaign based on your natural language request. Simply describe what you want to achieve, and AI handles everything else.
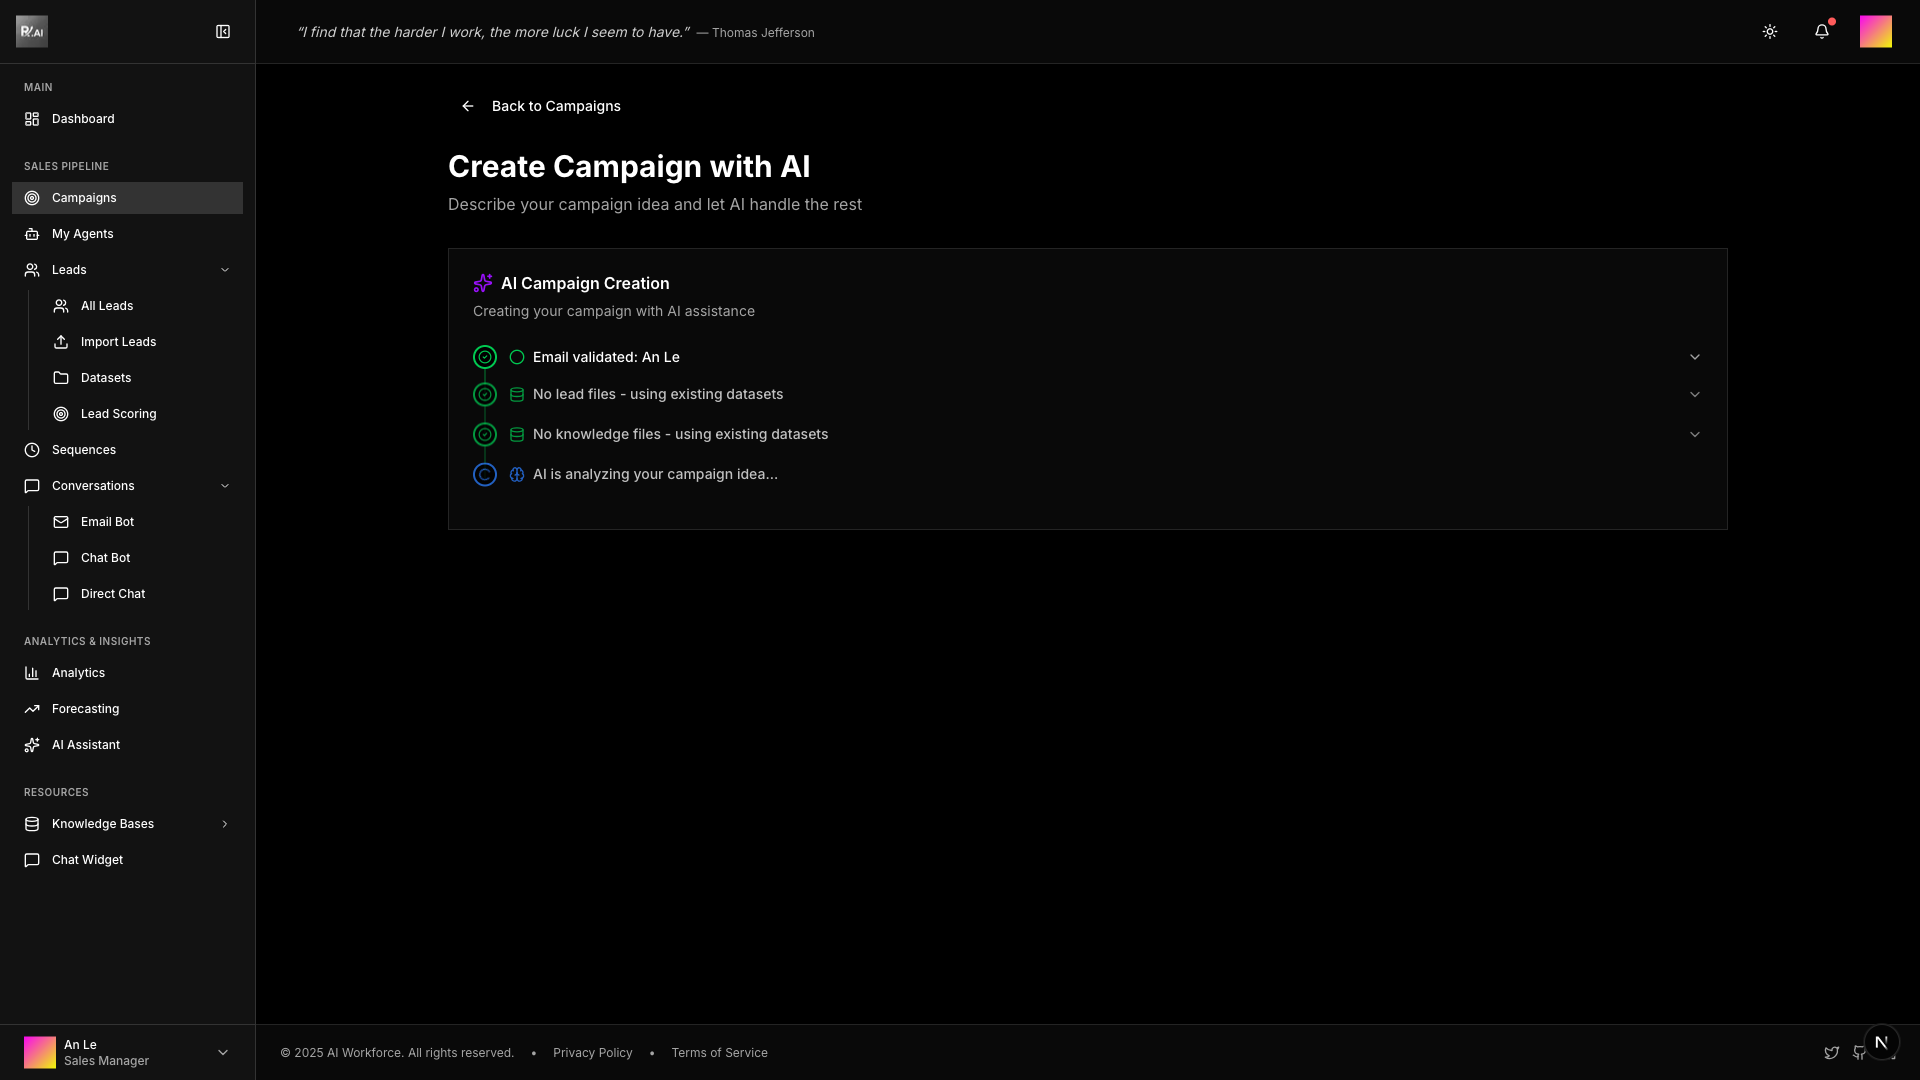
How It Works
The AI team performs these steps automatically:
- Analyze Request - Understand your campaign goals and requirements
- Process Data - Handle any uploaded files (leads and knowledge)
- Select Resources - Choose appropriate datasets and agents
- Generate Configuration - Create optimized email templates and settings
- Preview & Confirm - Review the generated campaign before saving
Using Mentions
You can reference existing resources in your request using special mention triggers:
| Trigger | Resource Type | Example |
|---|---|---|
@ | Lead Dataset | @Tech Startups Q1 |
# | Knowledge Base | #Product Catalog 2026 |
/ | AI Agent | /Sales Bot Pro |
When you type a trigger, a dropdown appears with available options to select from.
Step-by-Step Guide
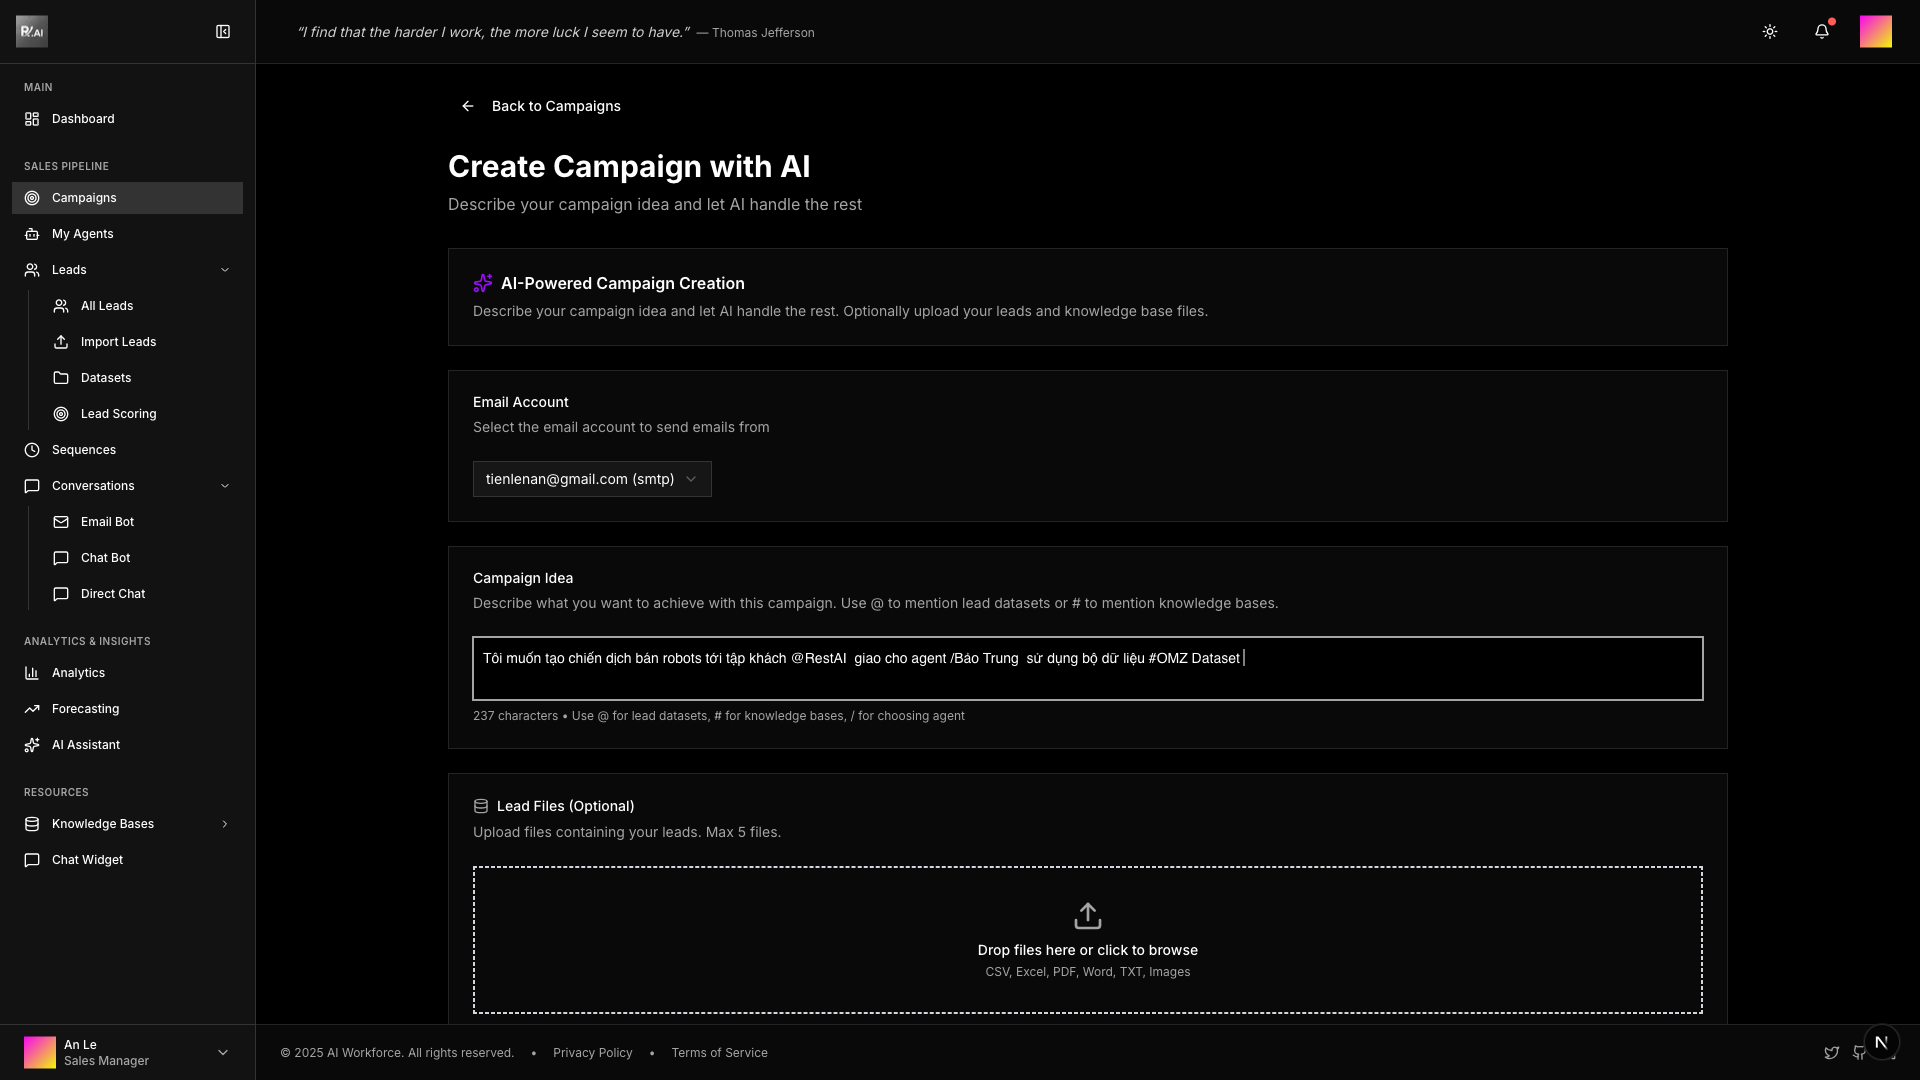
1. Select Email Account
Choose which email account will send the campaign emails.
2. Describe Your Campaign
Enter your campaign idea in natural language. Be specific about:
- Target audience - Who you want to reach
- Product/Service - What you're promoting
- Goals - What outcome you want
- Resources - Optionally mention specific datasets or agents
Example prompts:
I want to create a campaign selling robots to customers @Tech Companies
assigned to agent /Sales Bot using knowledge base #Product Specs
Create an outreach campaign for our new SaaS product targeting
enterprise CTOs. Use formal tone and emphasize ROI.3. Upload Files (Optional)
You can upload files directly instead of using existing datasets:
- Lead Files - CSV, Excel, PDF, Word, or images containing contact information
- Knowledge Files - Any documents with business context (product info, case studies, etc.)
The AI will automatically process these files and extract relevant information.
4. Generate Campaign
Click Create Campaign with AI to start the generation process.
5. Review & Approve
The AI generates a complete campaign configuration for your review:
- Campaign name and description
- Email templates (cold, follow-up, closing)
- Subject line variations
- AI instructions
- Sending schedule
You can edit any settings before approving.
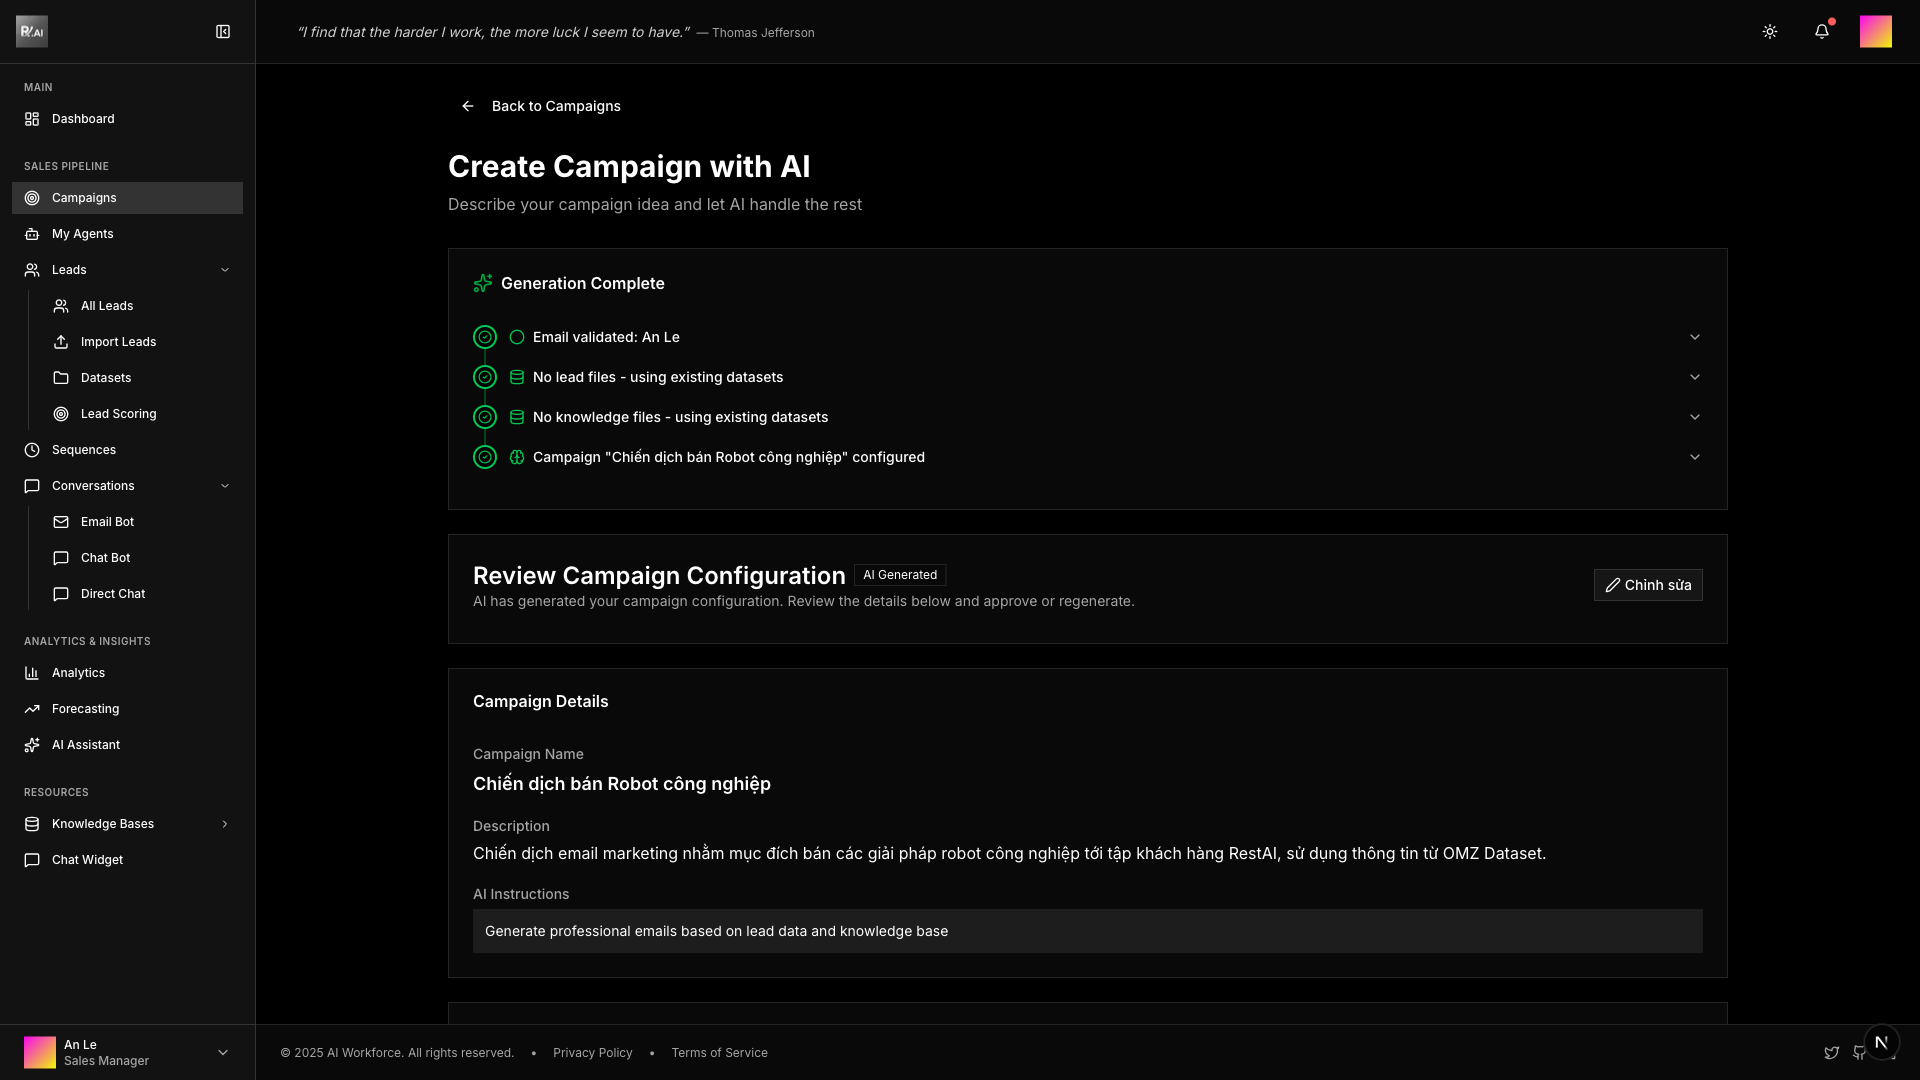
Click Approve & Create to save the campaign, or Regenerate to try again with different parameters.
After Creation
Both modes create campaigns in Draft status. Before starting:
- Review all settings in the campaign detail page
- Verify lead assignments in the Leads tab
- Test email templates if needed
- Change status to Ready, then Start Campaign
Once a campaign is started, some settings cannot be changed. Review carefully before launching.
Related Guides
- Your First Campaign - Complete Expert Mode tutorial
- Campaign Status - Understanding campaign lifecycle