Your First Campaign
Step-by-step guide to creating your first campaign
Prerequisites
Before creating a campaign, ensure you have the following ready:
Only Sales Managers can create campaigns. Directors and Admins can view but not create.
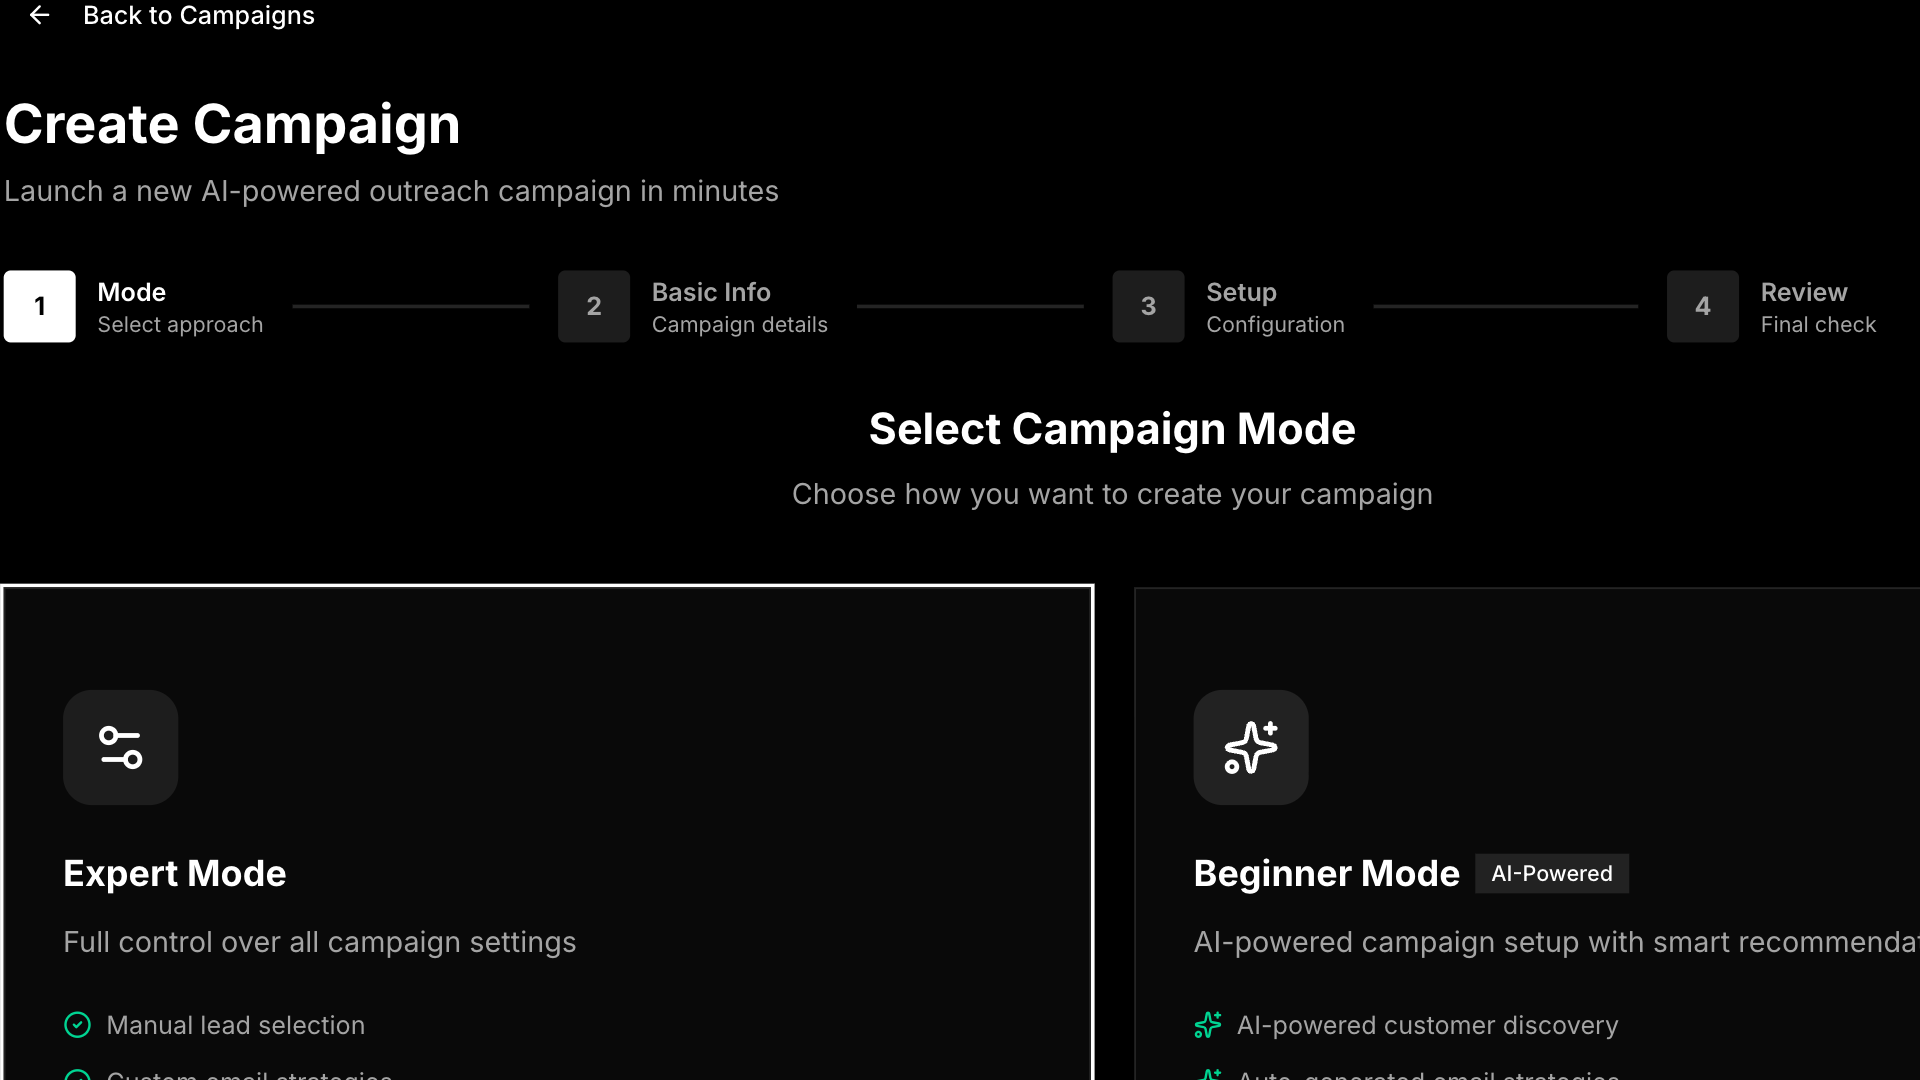
Step 1: Choose Creation Mode
Navigate to Campaigns in the sidebar and click Create Campaign button (or go directly to /campaigns/new).
You'll see two creation modes:
- Expert Mode - Full control over all settings (this guide)
- Beginner Mode - AI-assisted setup with natural language
New to campaigns? Try Beginner Mode for an AI-assisted setup experience. See the Creating Campaigns guide for details.
Select Expert Mode and click Continue.
Step 2: Campaign Basic Info
Enter your campaign details:
- Campaign Name - A clear, descriptive name (e.g., "Q1 Tech Outreach")
- Description (optional) - Notes about the campaign purpose
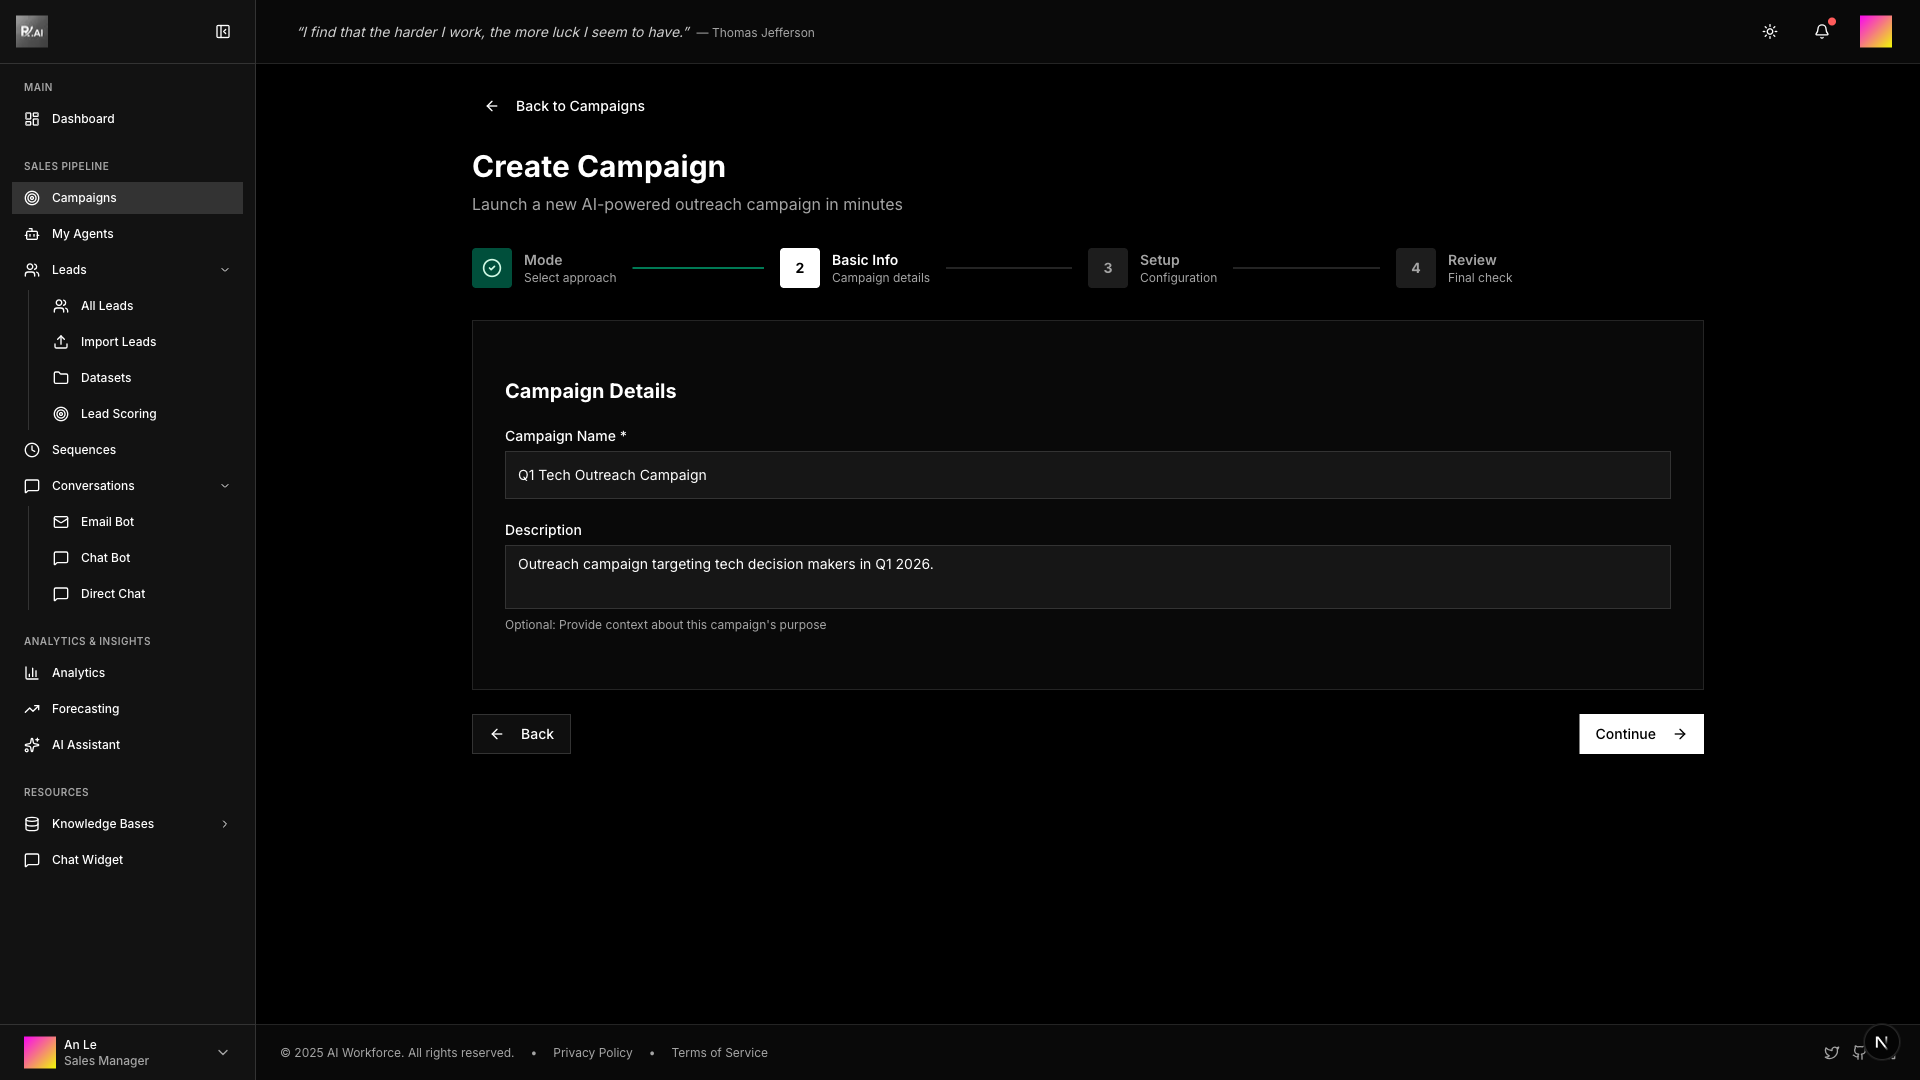
Click Continue to proceed to setup.
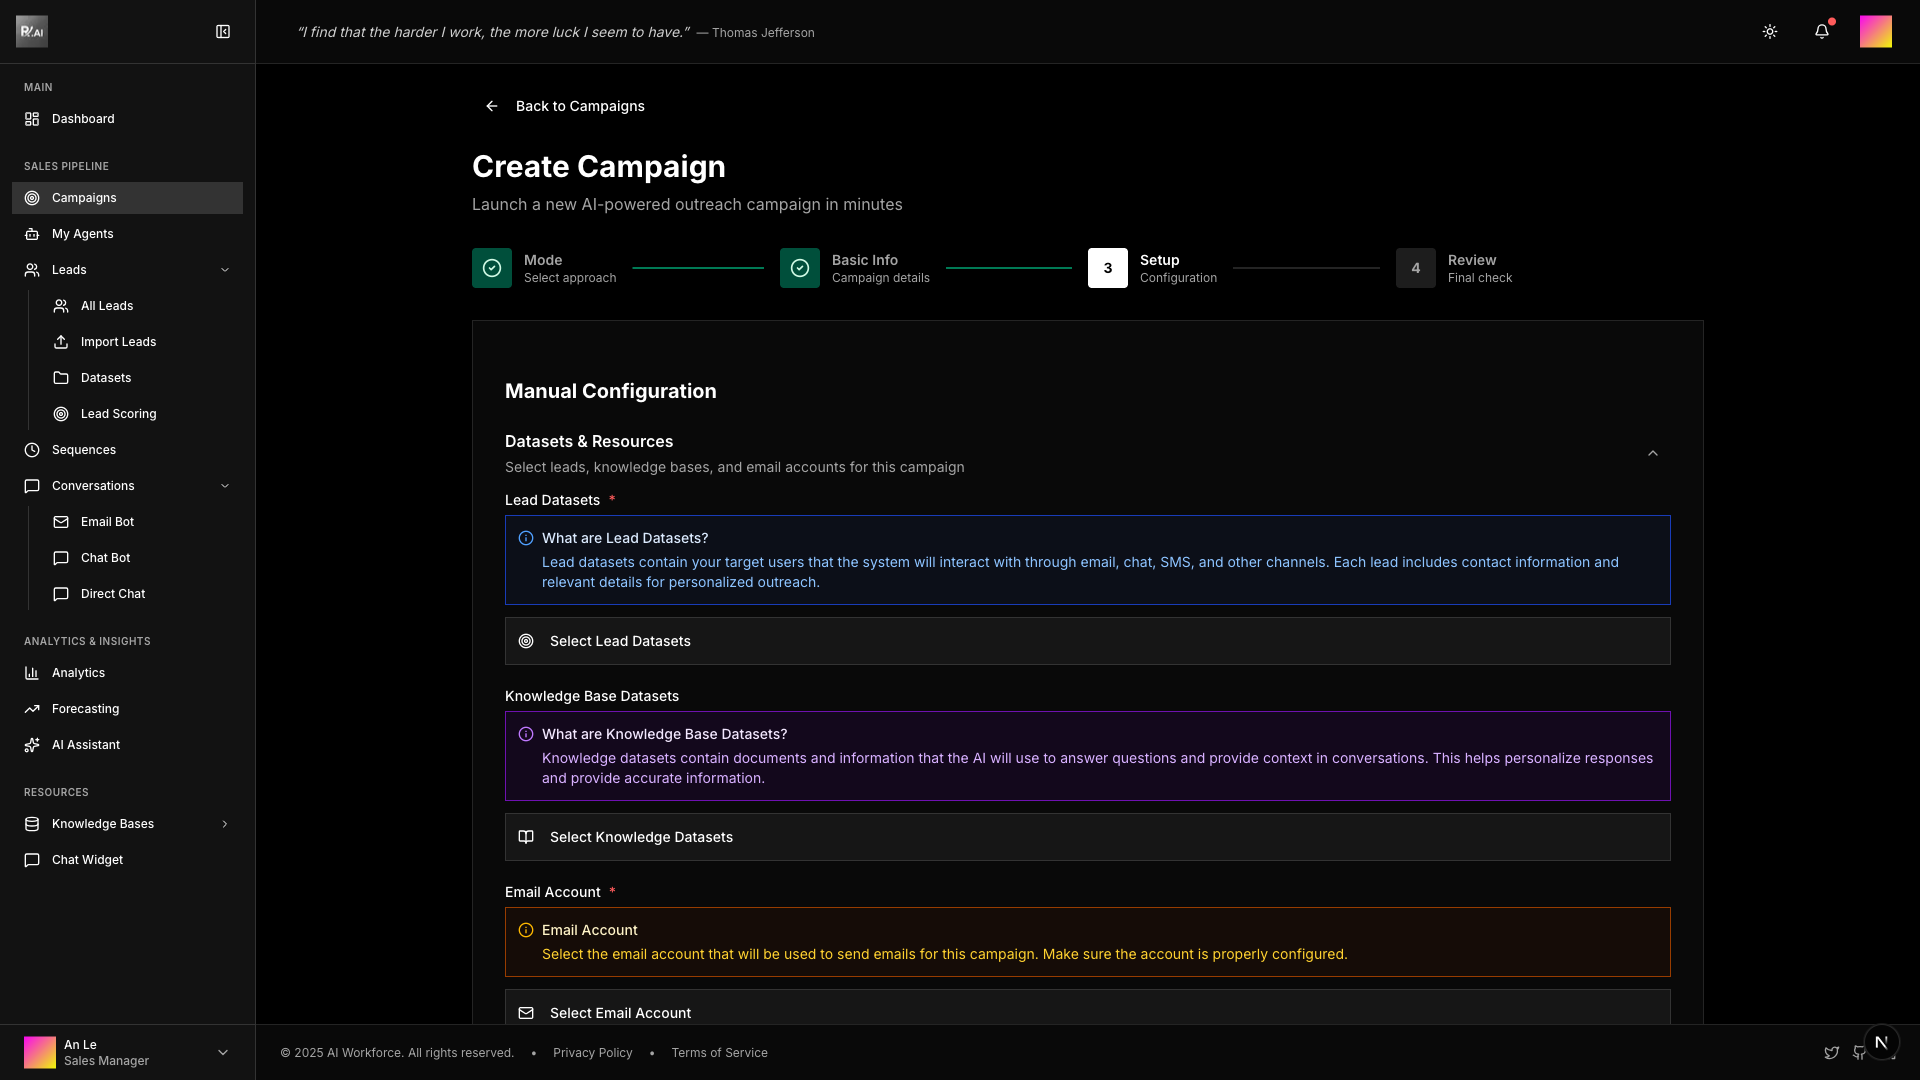
Step 3: Campaign Setup
This is where you configure the core components of your campaign.
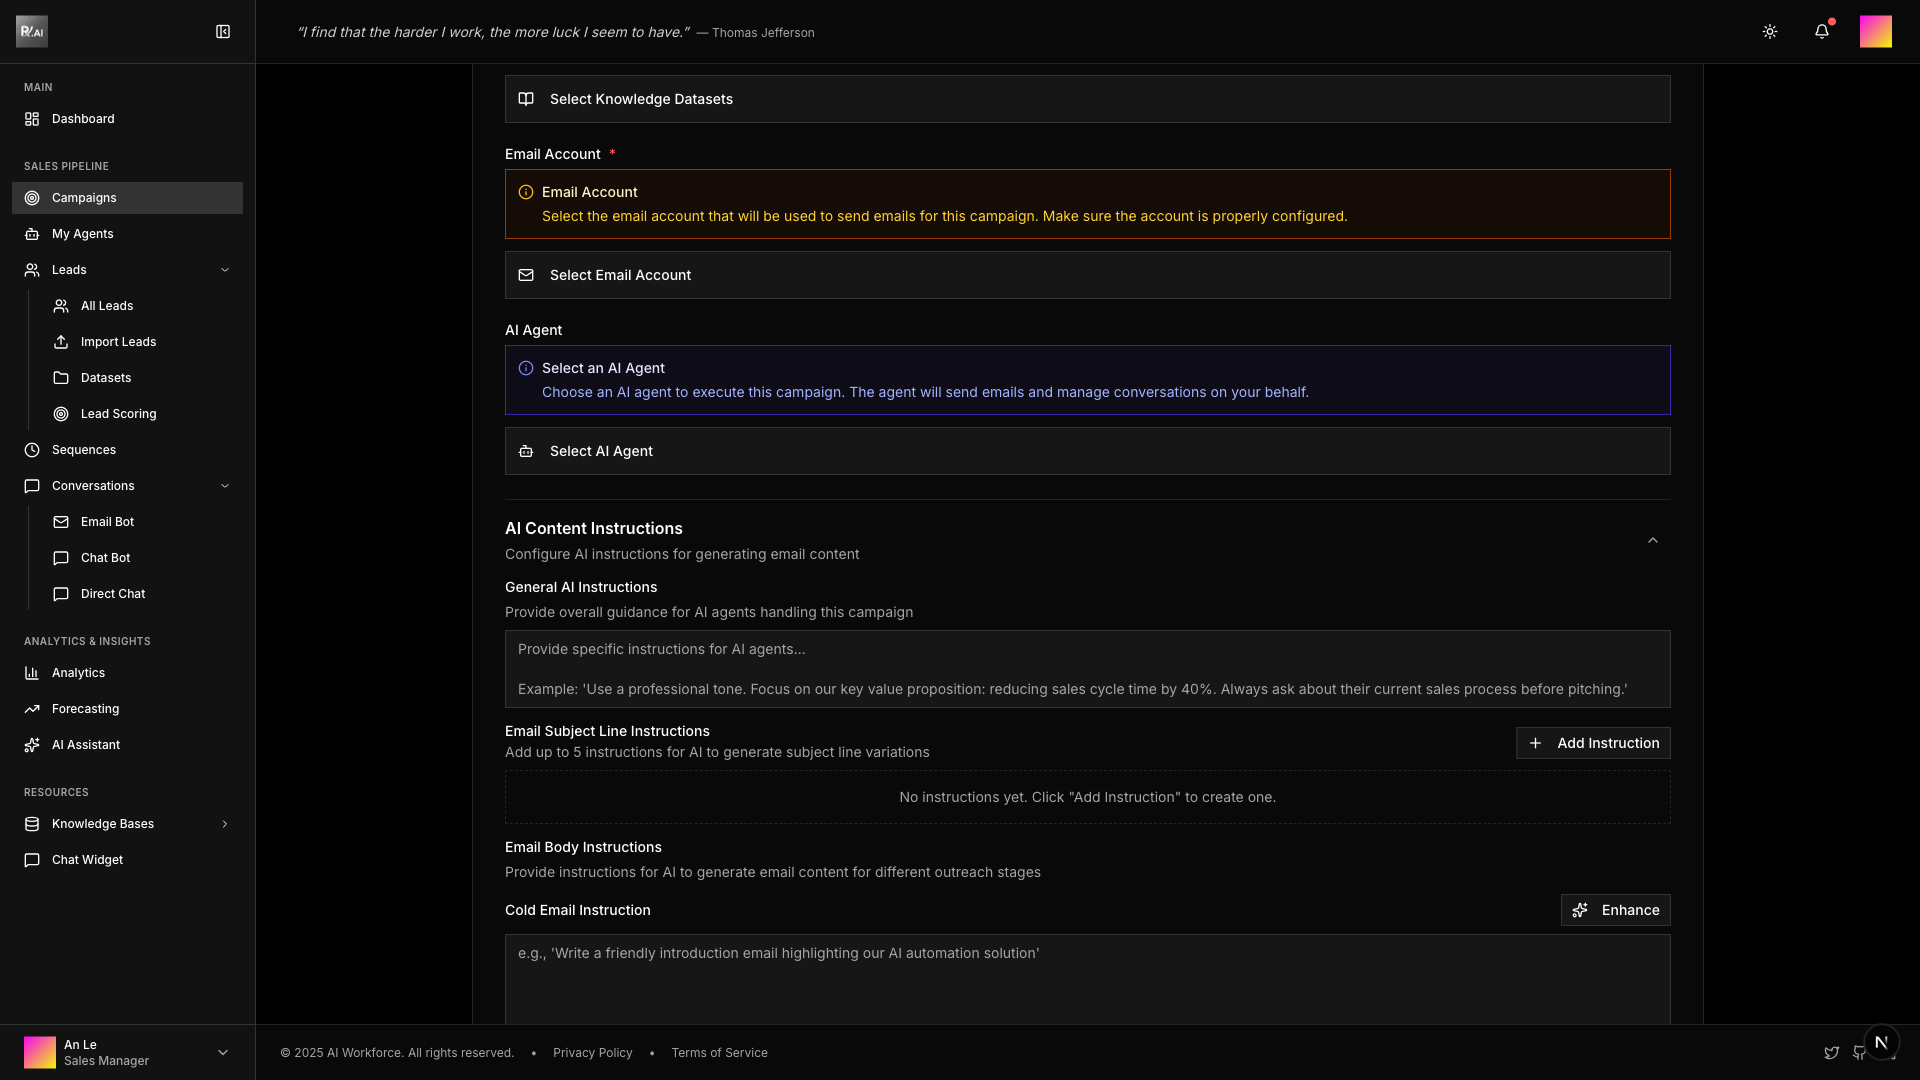
3.1 Select Data Sources
Choose the resources your campaign will use:
Lead Datasets Select one or more lead datasets. These are the contacts who will receive your emails.
Knowledge Bases Select knowledge bases containing your business information. The AI uses this to personalize emails.
Email Account Choose which email account will send the campaign emails.
AI Agent Select an available AI agent to handle email generation and responses.
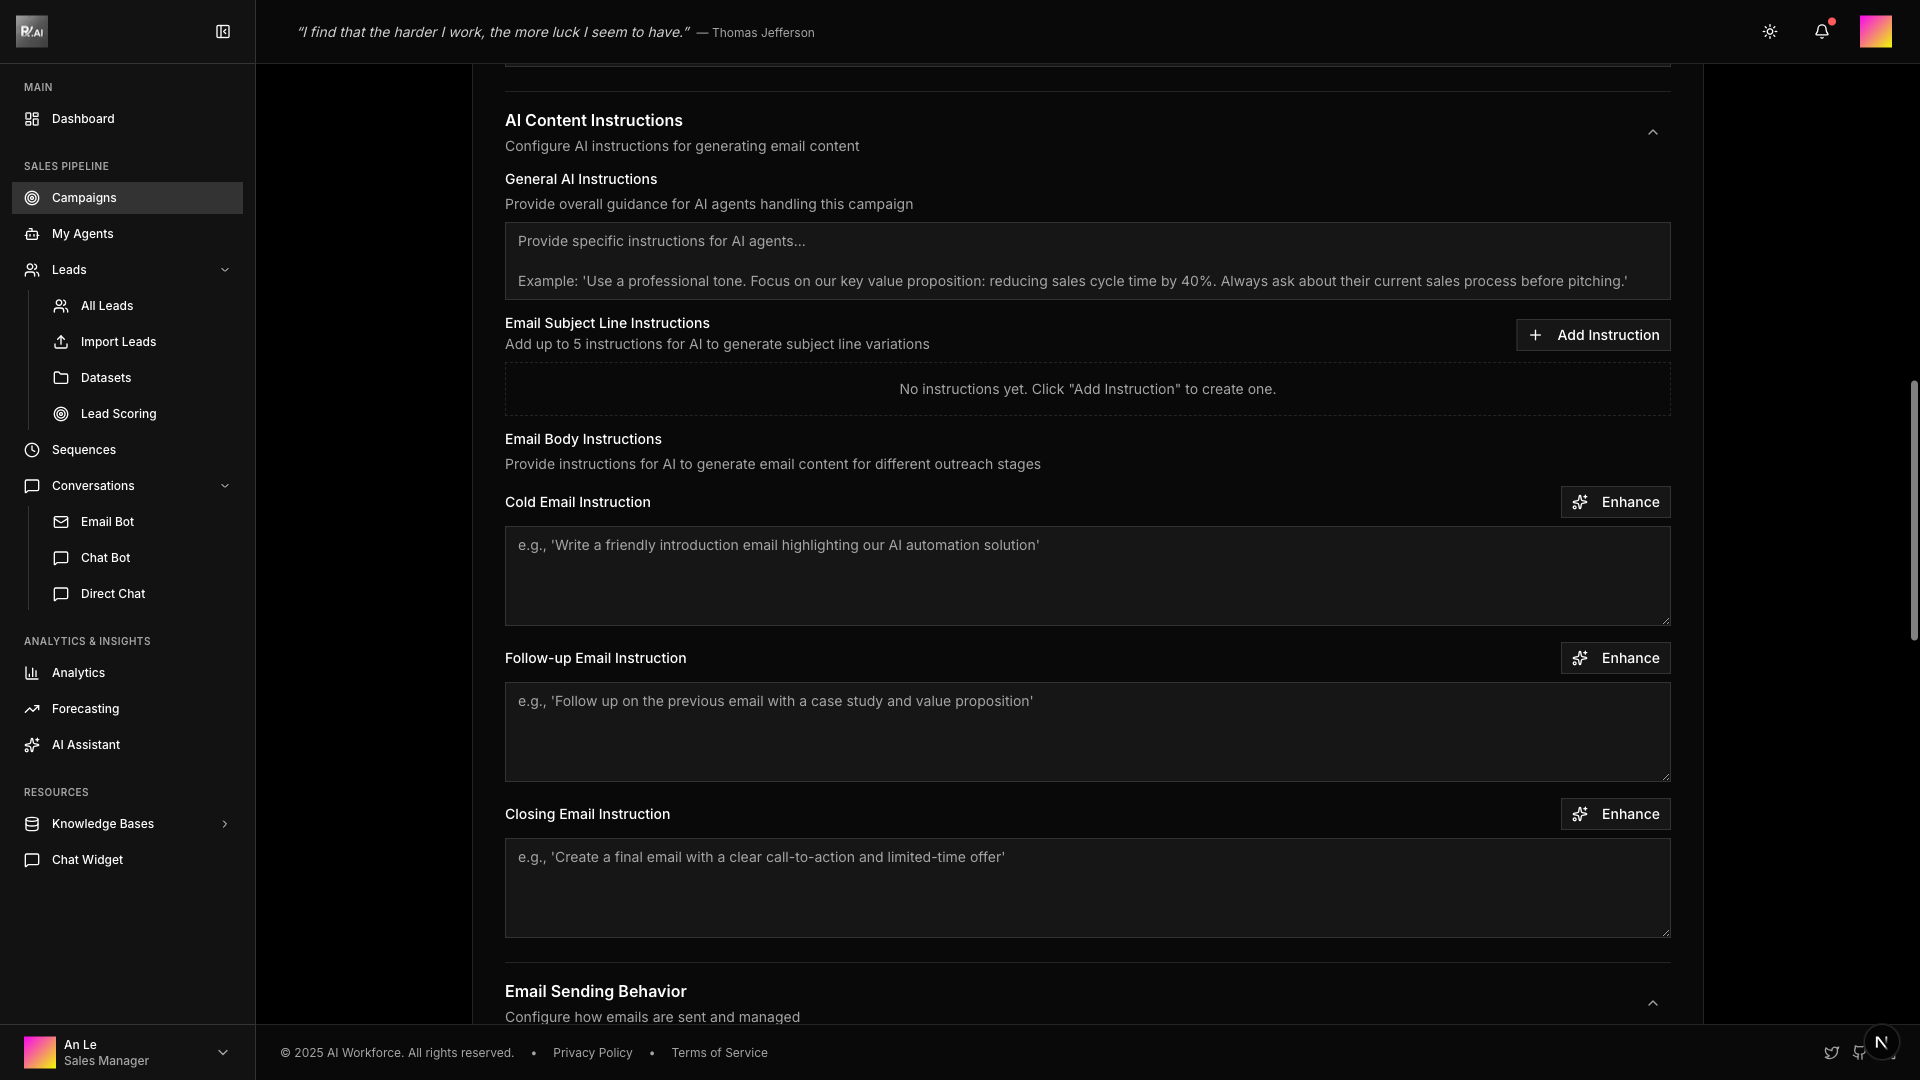
3.2 Configure Email Content
Set up your email strategy:
AI Instructions Provide specific instructions for the AI when generating emails. Include:
- Tone and style preferences
- Key points to mention
- Things to avoid
Subject Templates Add up to 5 subject line variations. The AI will use these as inspiration.
Email Body Templates Configure templates for different email types:
- Cold Email - Initial outreach
- Follow-up - Subsequent touches
- Closing - Final attempt
3.3 Sending Behavior
Configure how and when emails are sent:
Batch Processing
- Enable/disable batch sending
- Set batch size and interval
Sending Timeframe
- Define sending windows (e.g., 9 AM - 5 PM)
- Select active days
- Set timezone
Response Behavior
- Auto-reply settings
- Business hours restrictions
Warm-up Settings
- Gradually increase sending volume
- Protect email reputation
Follow-up Configuration
- Delay between follow-ups
- Maximum attempts
- Stop conditions (reply, click, open)
Closing Configuration
- Days before marking as closed
- Auto-close behavior
Step 4: Review and Create
Review all your campaign settings before creating:
- Campaign name and description
- Selected datasets and resources
- Email configuration
- Sending schedule
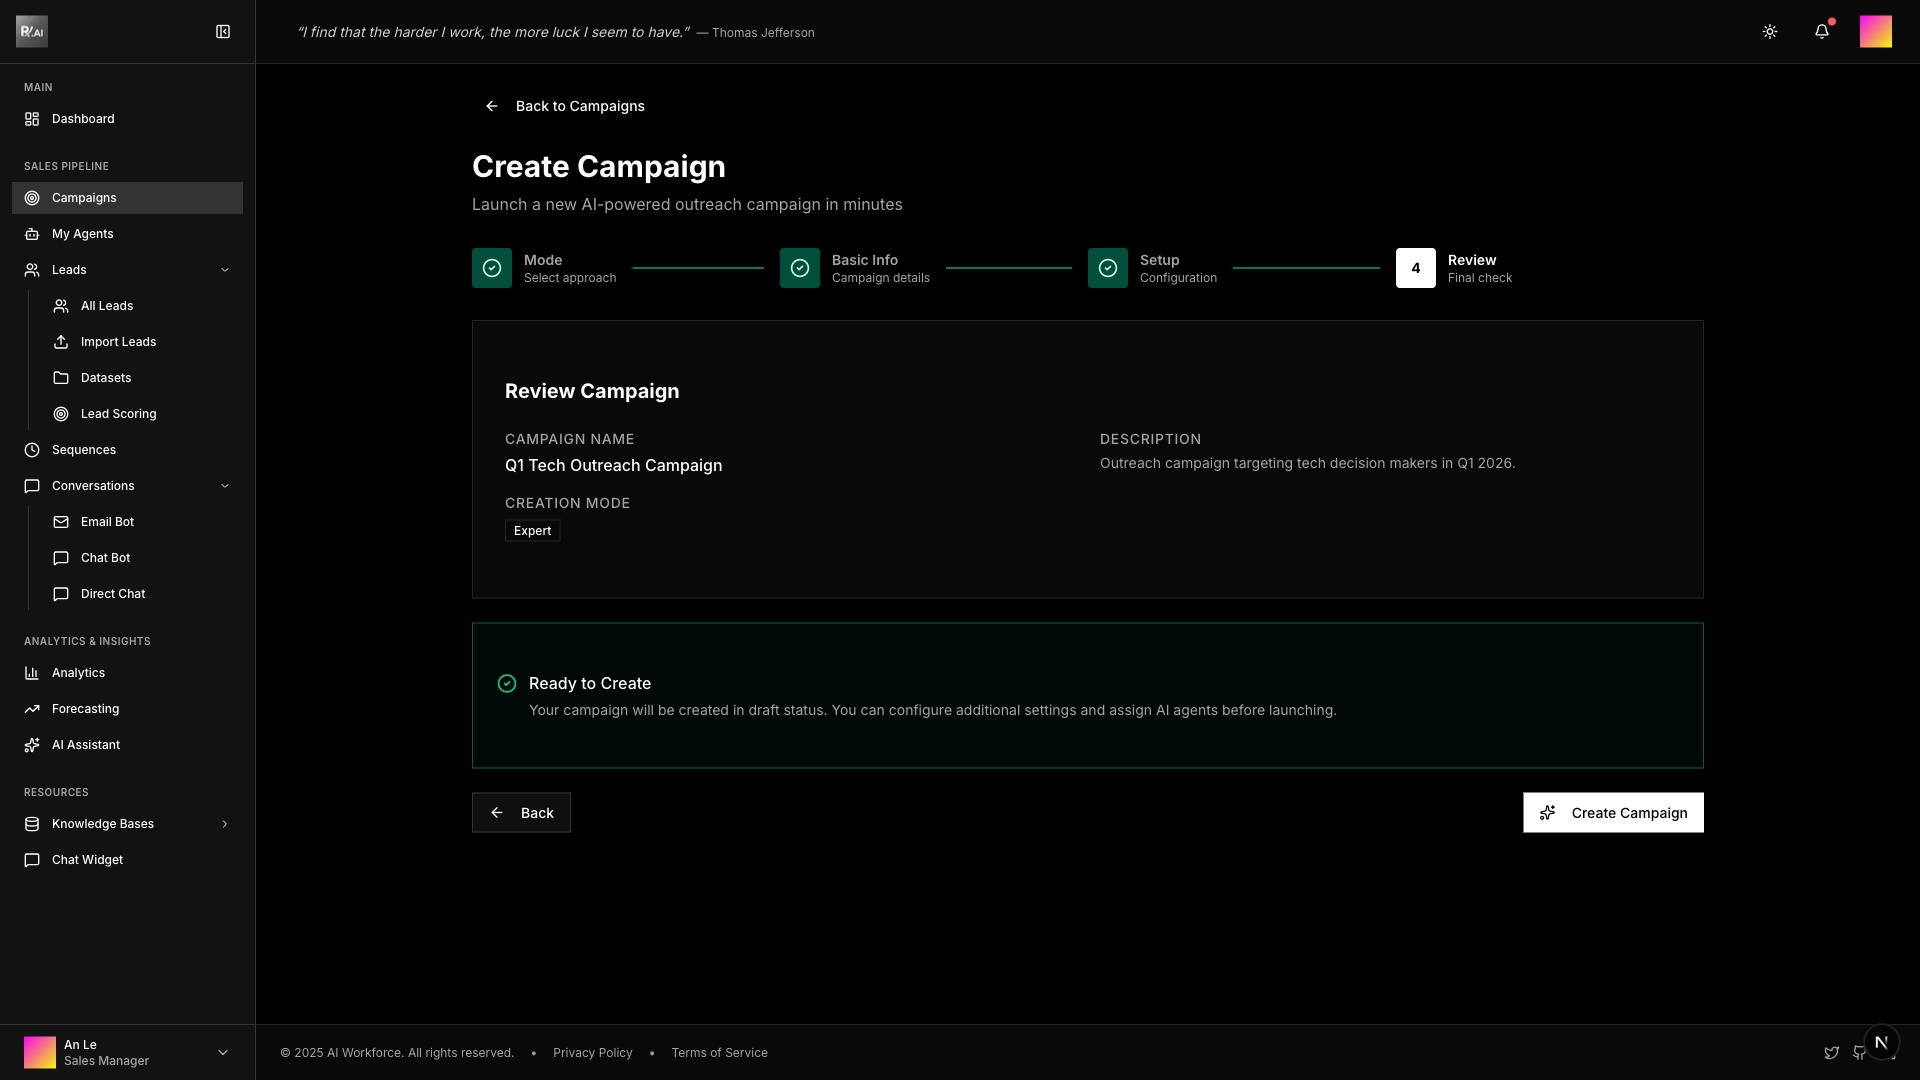
Click Create Campaign to finish. Your campaign will be created in Draft status.
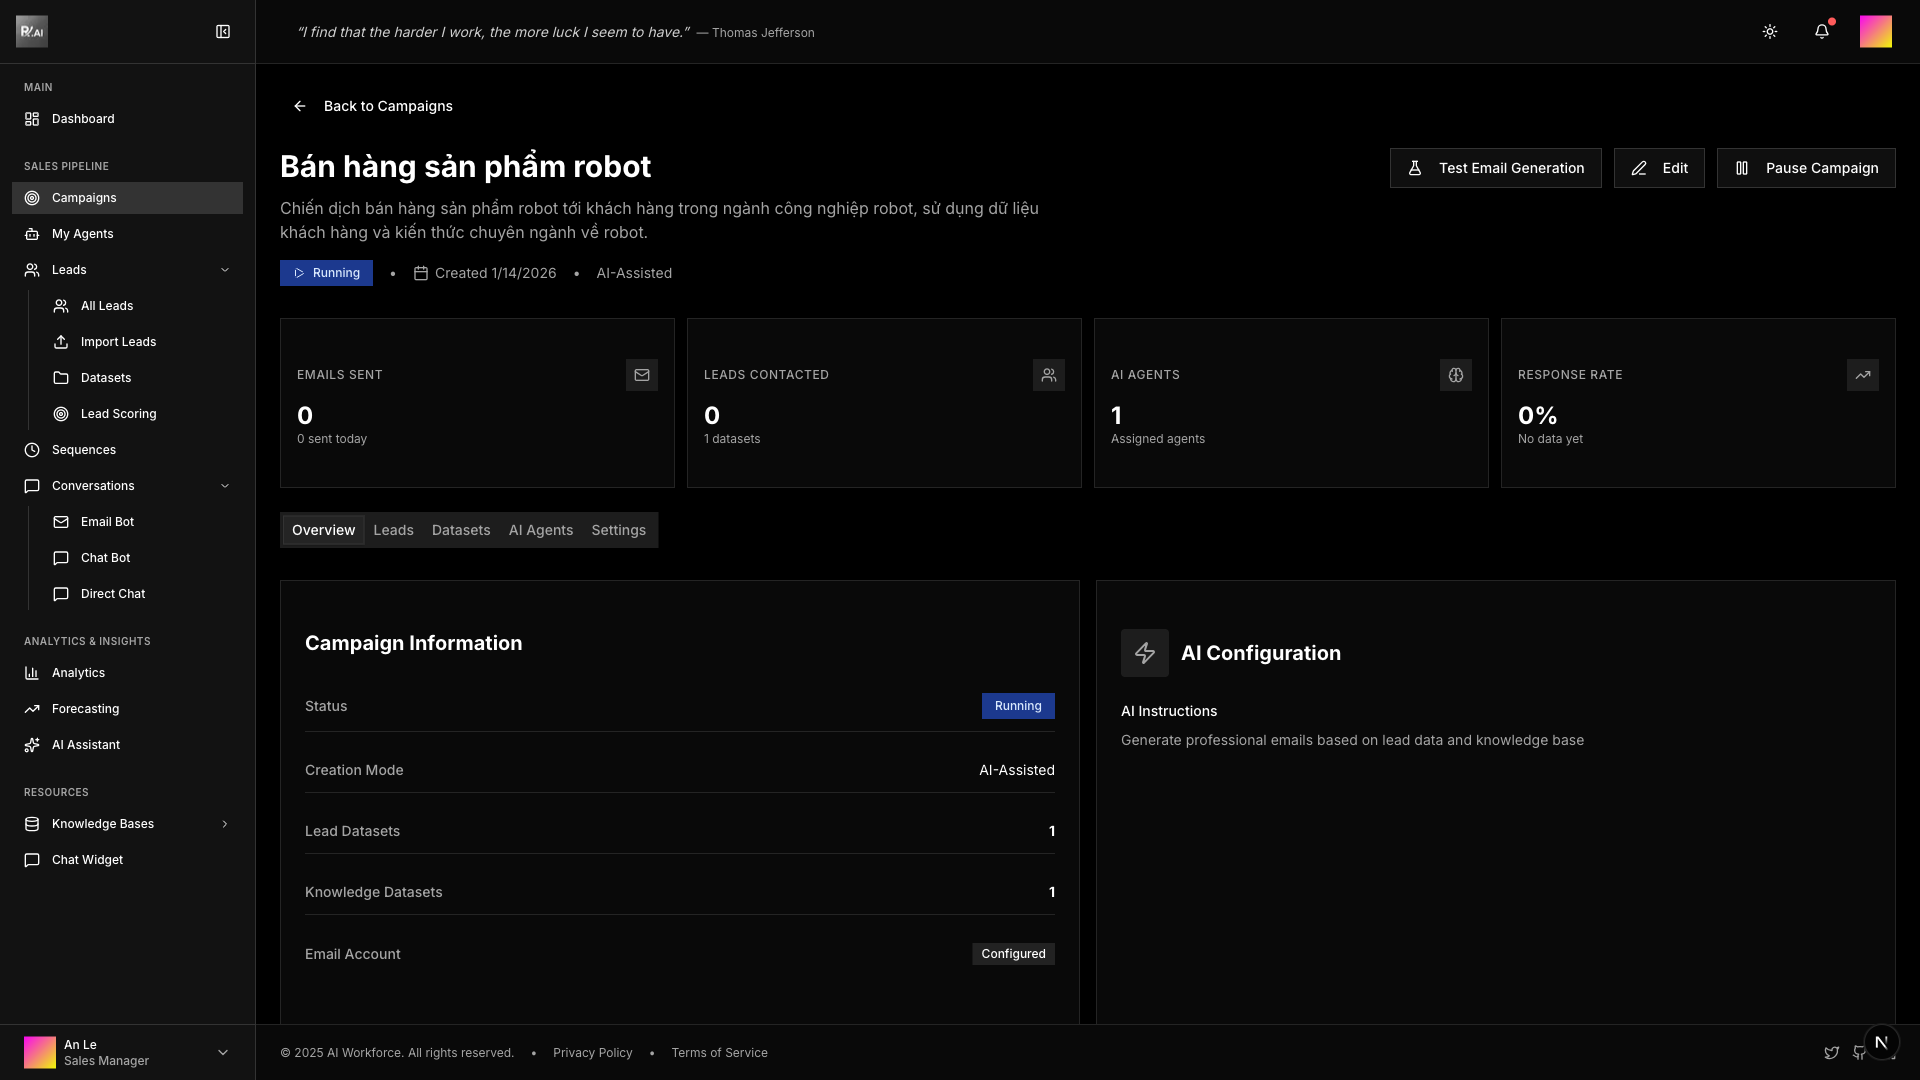
After Creation
Your new campaign appears in the campaigns list with Draft status.
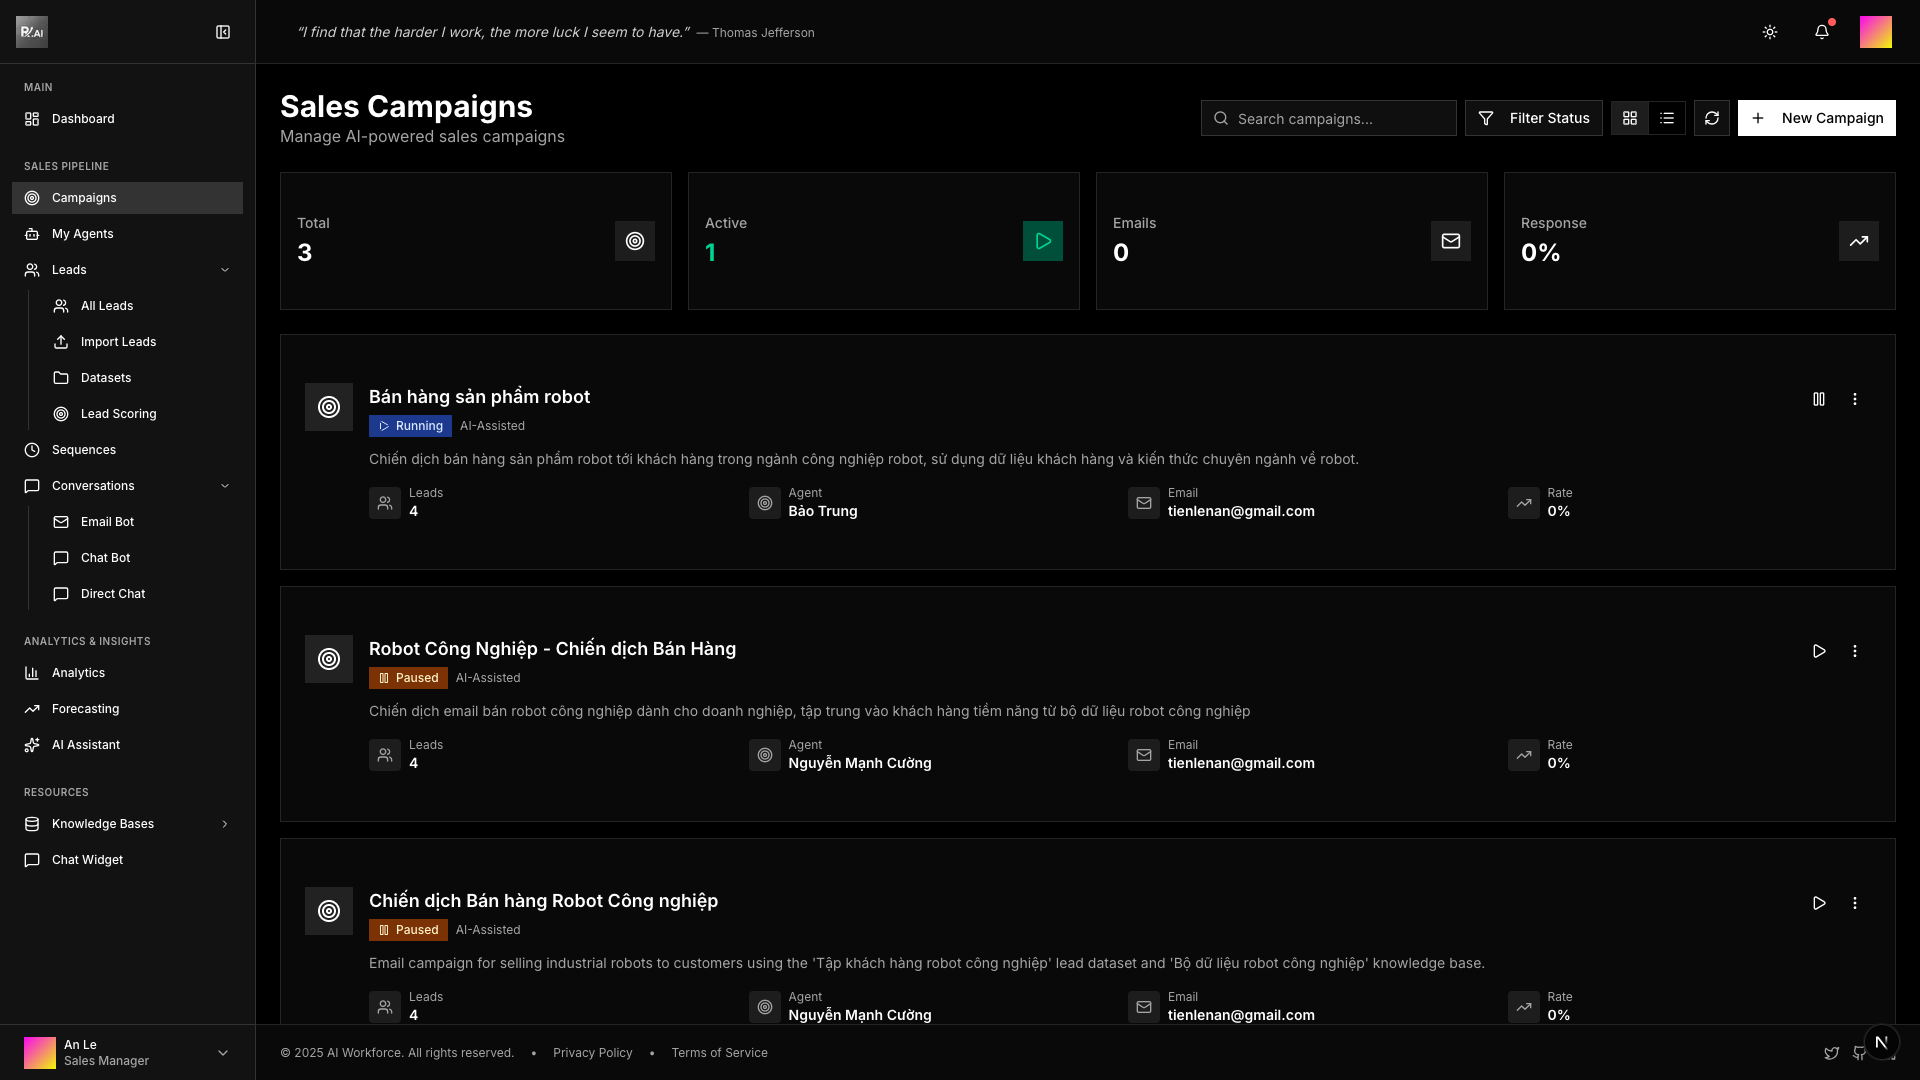
Starting Your Campaign
From the campaign detail page, you can:
- Review settings in the Overview tab
- View assigned leads in the Leads tab
- Configure agents in the Agents tab
- Start the campaign when ready
Before starting a campaign, verify all settings are correct. Once started, some settings cannot be changed.
Monitoring Your Campaign
After starting your campaign, monitor its progress at /campaigns/[id]:
Overview Tab
View campaign metrics and status at a glance:
- Email sent count
- Open and reply rates
- Bounce and unsubscribe rates
Leads Tab
Track individual lead progress:
- Email delivery status
- Open/click tracking
- Reply status
Executions Tab
View campaign execution history:
- Batch processing logs
- Error tracking
- Performance metrics